")
Wood Staining Steps for Success! (Simple Version)
Posted by Peter Bultman on 17th Jun 2023
Here's some simple finishing steps that will simply give you a wonderful end result . This is our process at Decibel Designs
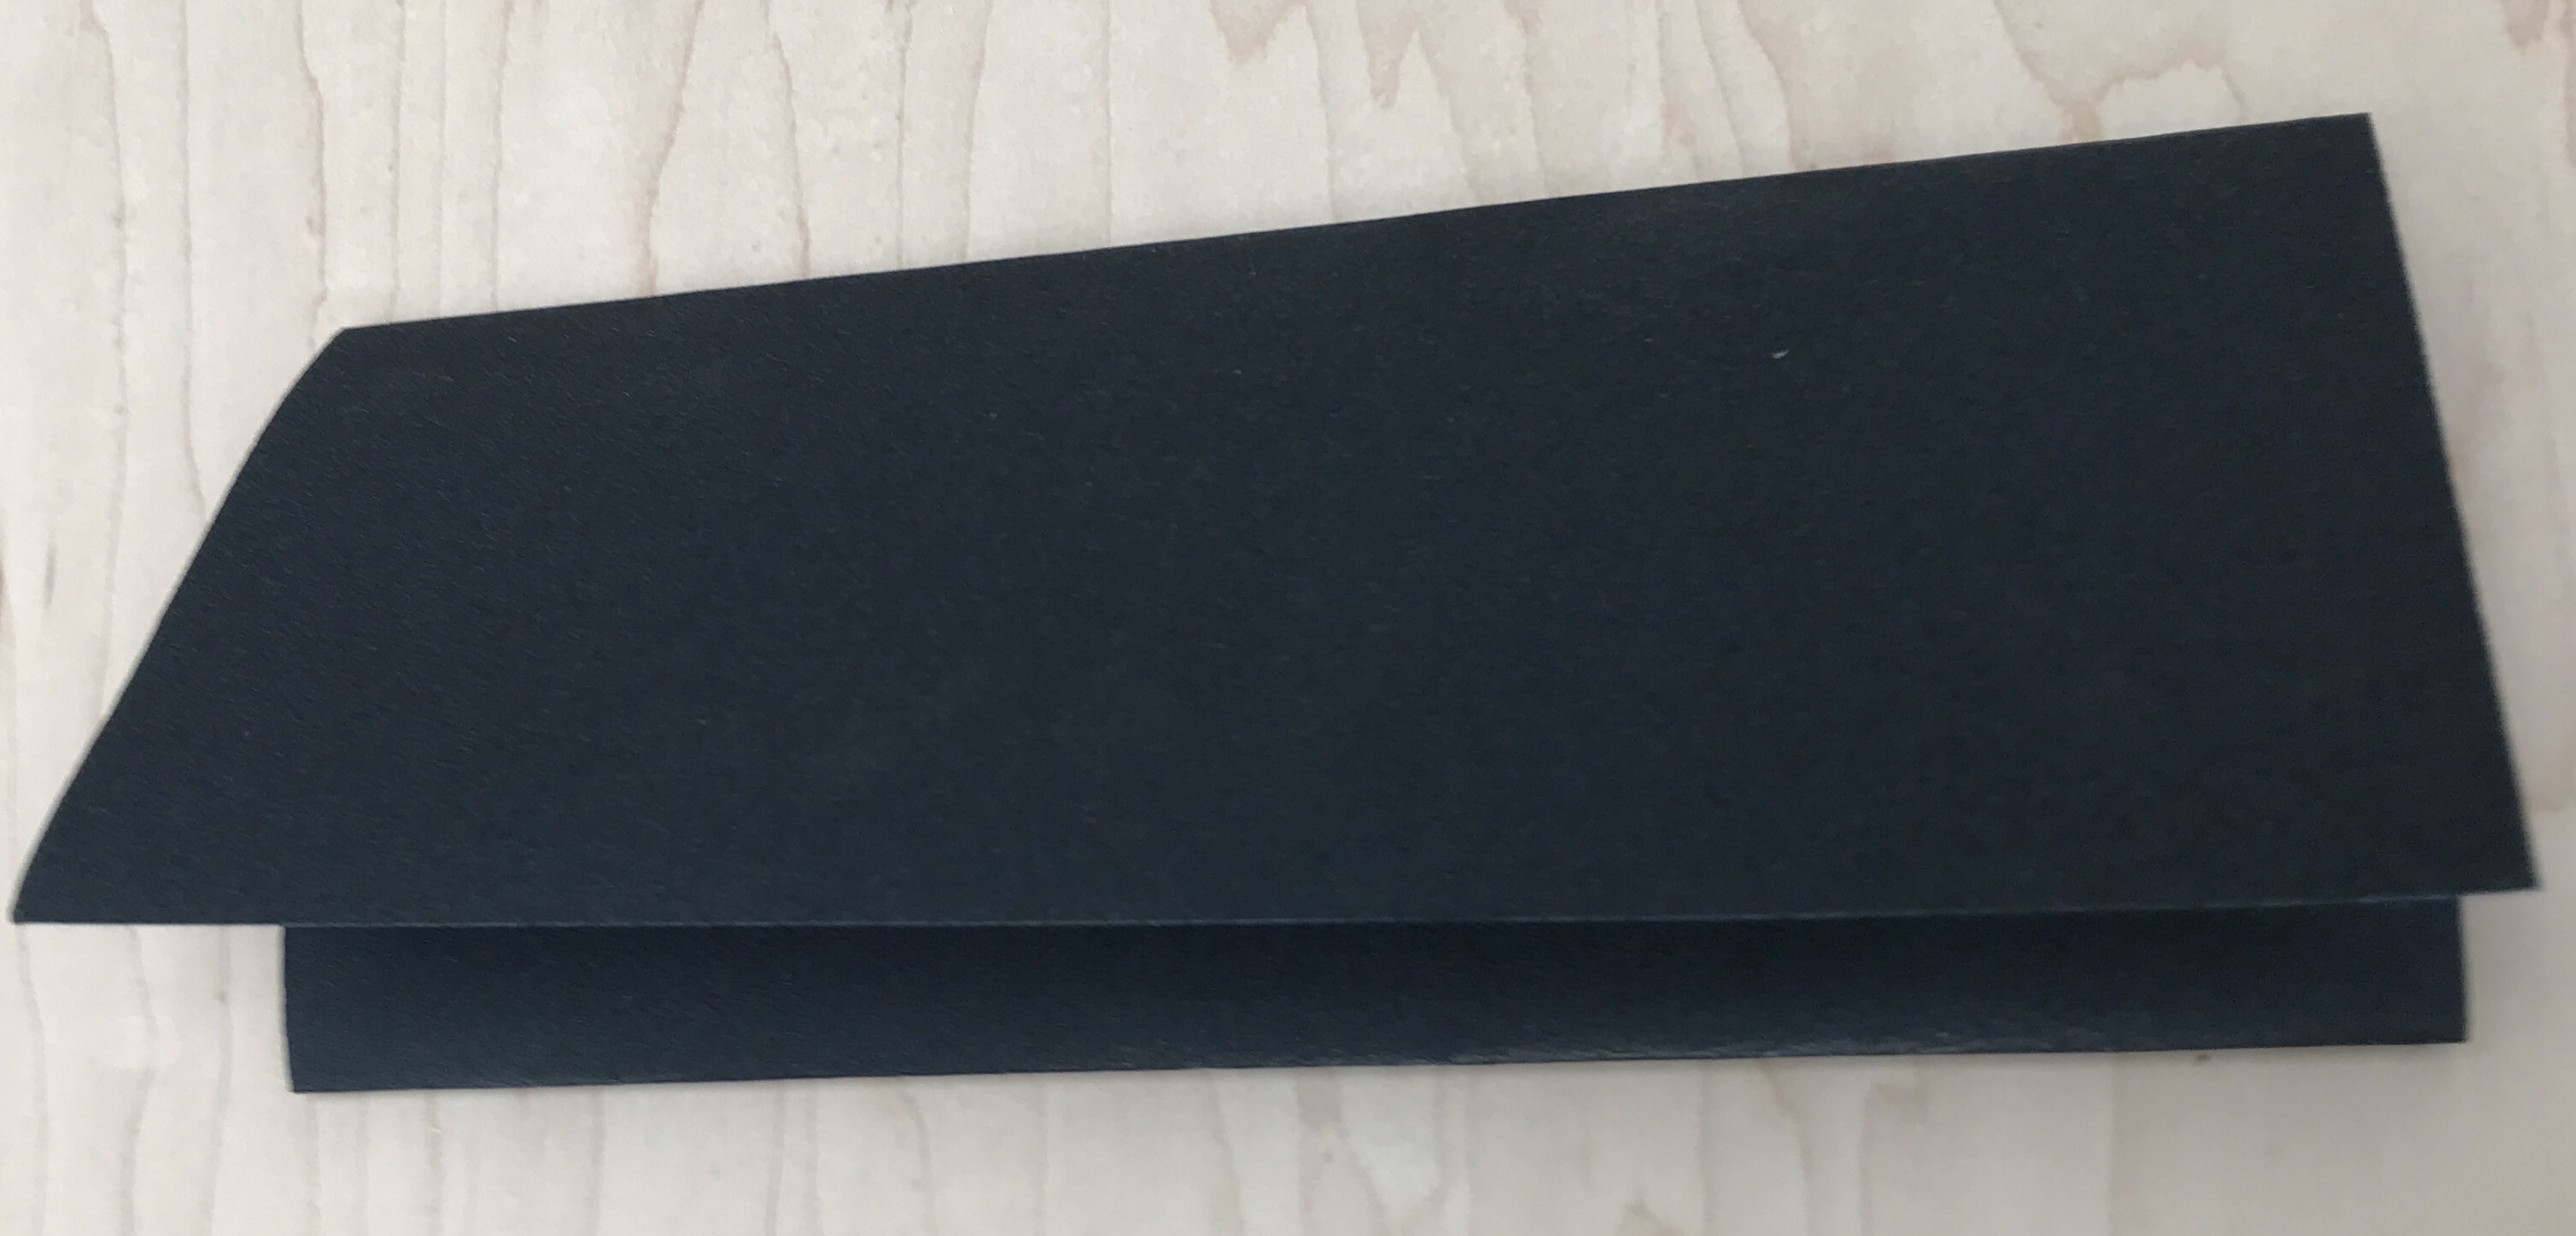
1. Sand with everything with 220 grit black wet/dry sandpaper with the grain direction. Fold your sandpaper sheet 3 times so it's easy to handle.
Sand pressing down with your palm and 4 fingers. Use different sections of the sheet as they fill and dull. Avoid cross grain scratches! They'll come back to haunt you when you stain. Wipe clean with a Terry cloth.
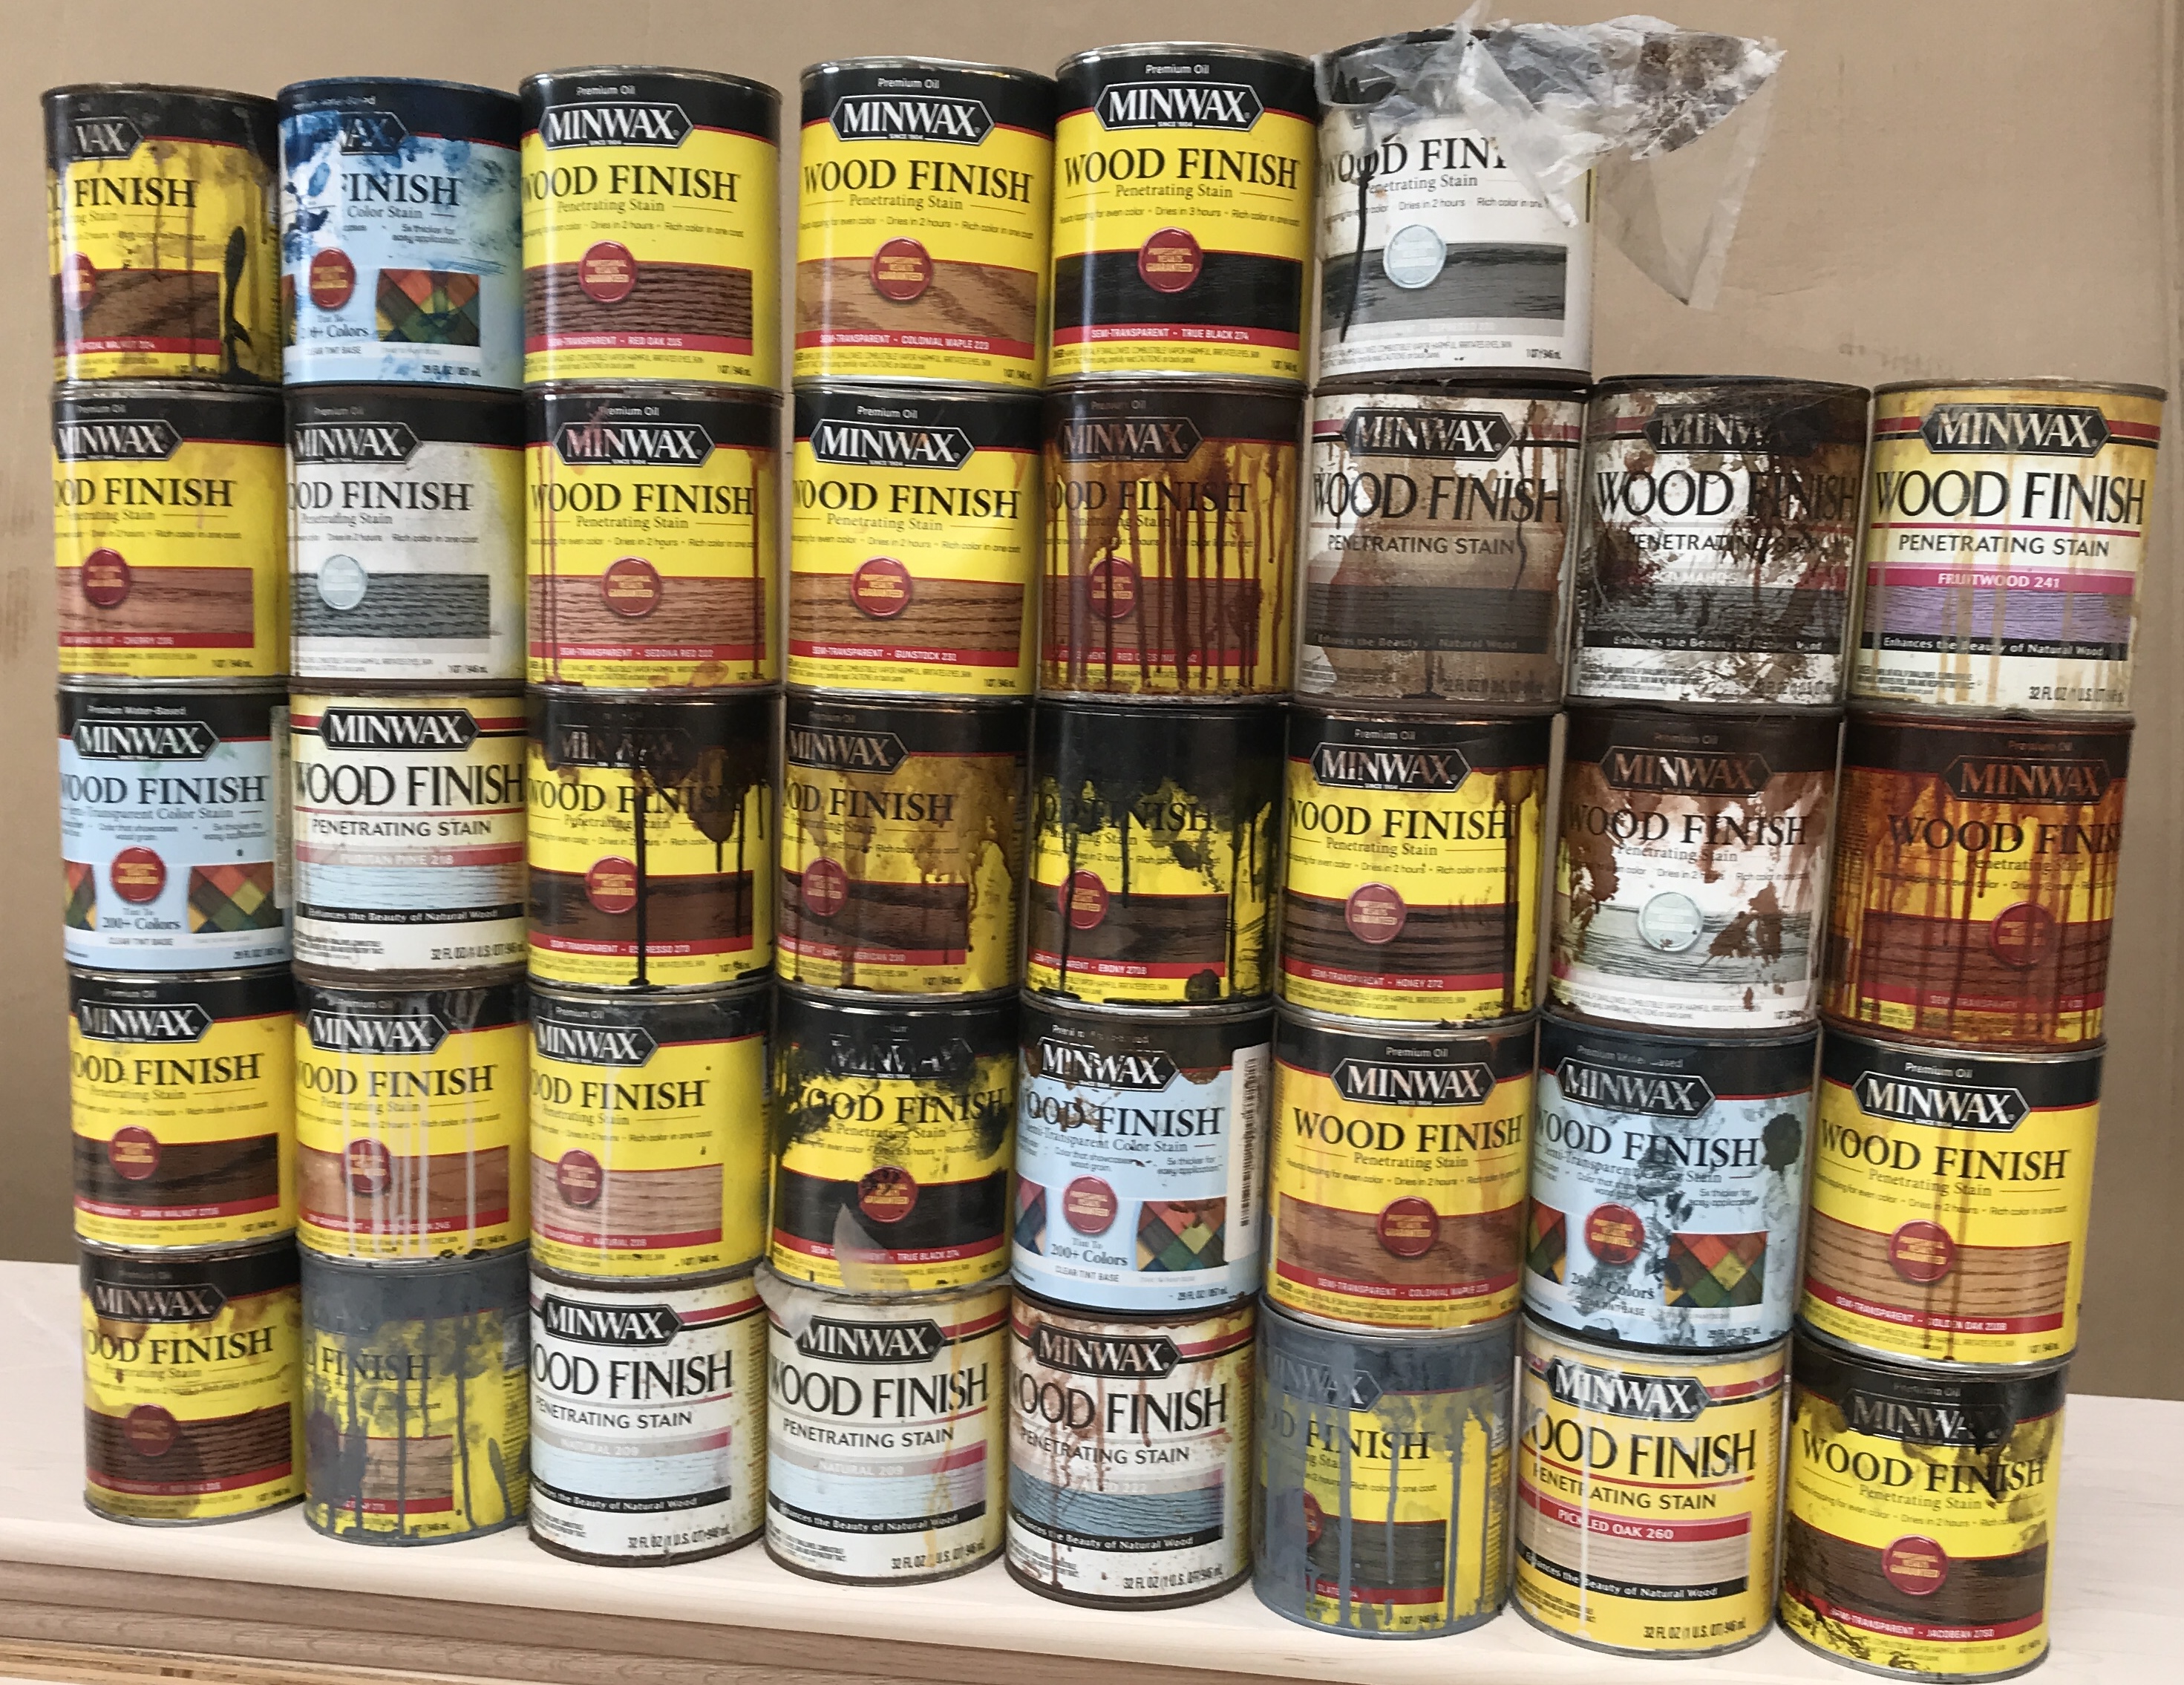
2. Use an oil base Minwax stain fully stirred, liberally applied with a soaked Terry cloth about 7 x 7 inches. Wear gloves! If any cross grain scratches appear you can use the 220 sandpaper to scrub them out with the grain while the piece is still wet. Apply more stain to these areas after the scratch is smoothed out. Allow 10-15 minutes of soak time before wipe off. Stir frequently to keep all the color up in solution. Light color stains should dry overnight. Dark colors should dry for 3 days to allow the slow solvents to dry. If you're doing flat pieces like shelves wipe them one more time and set them vertically on an unfinished edge so drying air can get to all sides easily. If you lay them on anything there is a chance that the stain will dry as a concentrated color print that will show up in your final finish!
3. Lightly sand dried stain with 320 grit. Just a few light swipes with the grain to knock down the frozen wood hairs. It should feel fingertip smooth. Wipe clean with a dry Terry cloth. A tack rag is not necessary. Stay away (about a 1/4 inch) from sharp edges so you don't cut through the color finish. On rounded edges lightly do one pass on the top of the arc and one pass on the bottom of the arc using one finger for pressure only. Stay away from sharp edges and ends (you don't want to go through the color!). Generally edges are finished in solid wood which feel smoother to begin with.
Repeat stain. This will get you the richest color. Let dry overnight again.
Then it's time to top coat with a clear finish.
You can see a lot of the Minwax colors we've done in our Custom Work section.
If you want a clear finish skip the staining step.
Enjoy the process....think zen!